Development Environment Setup
Overview
This guide provides a complete walkthrough for setting up the ESP32-S3 development environment on Windows, based on Espressif’s official ESP-IDF v5.1.6 framework. It offers two mainstream development options: using the VS Code extension (recommended) or configuring the command-line toolchain. We strongly recommend using Visual Studio Code for an optimal development experience.
Official Reference:Programming Guide
Development Tools Options
Two installation methods are available for setting up the IDE tools:
- Eclipse Plugin(Suitable for developers already familiar with the Eclipse environment.)
- VSCode Extension(Recommended for a smoother and more user-friendly development experience.)
Command-Line Development (Optional)
For advanced users who prefer CLI-based workflows, refer to:Standard Toolchain Setup for Windows
Setting Up VS Code (Recommended)
Setup Steps
-
Install Visual Studio Code
- Download and install the latest version from the VSCodewebsite.
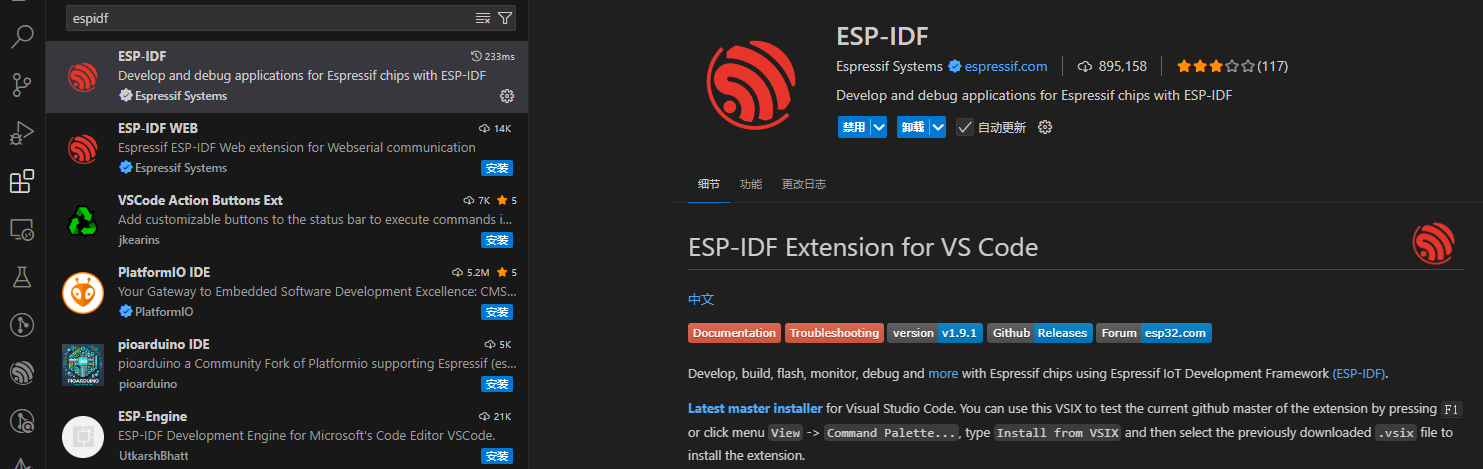
- Launch VSCode, search for and install the "Espressif IDF" extension from the extension marketplace.
-
Configure the ESP-IDF Development Environment
- Press
Ctrl+Shift+Pto open the command palette. - Type and select the command
Configure ESP-IDF extension.

- Press
Installation Modes
Three installation modes are available to suit different setup preferences:
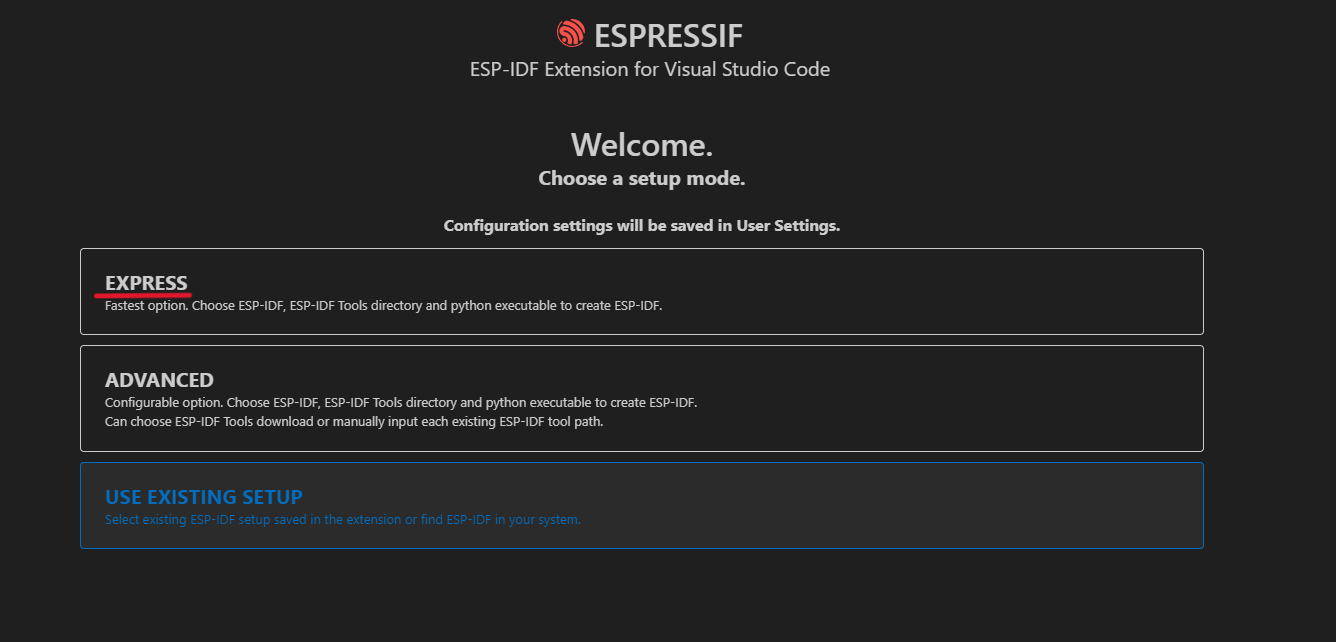
-
EXPRESS(Recommended)
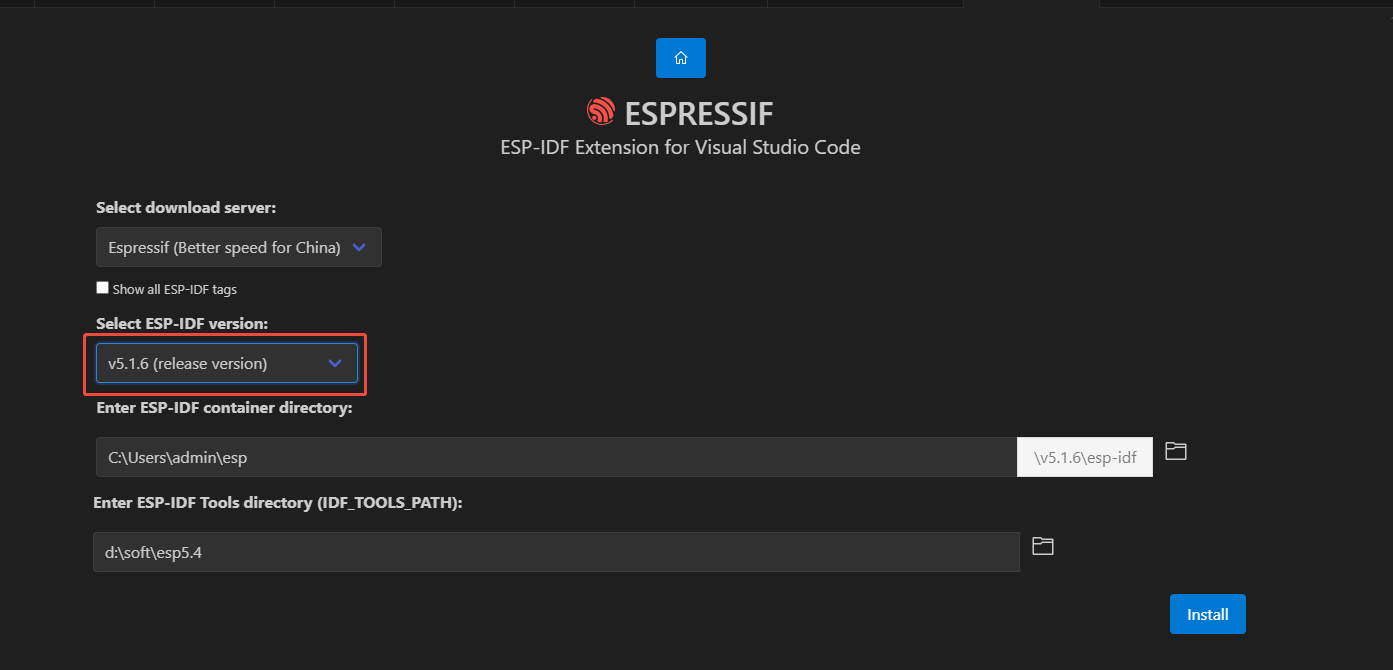
- Automatically downloads and installs the specified ESP-IDF version (recommended: v5.1.6)
- Automatically creates a Python virtual environment
- Default installation path:
X:\Espressif - Note: This method relies on GitHub for downloading components. Users in mainland China may need to configure a proxy.
-
ADVANCED
- Allows custom selection of ESP-IDF version and Python environment
- Supports managing multiple ESP-IDF versions
- Allows setting a custom toolchain installation directory
-
USE EXISTING SETUP
- Detects an existing ESP-IDF environment on your system
- Recommended for users who have already configured the development environment
It is recommended to choose the EXPRESS and and start with version v5.1.6.
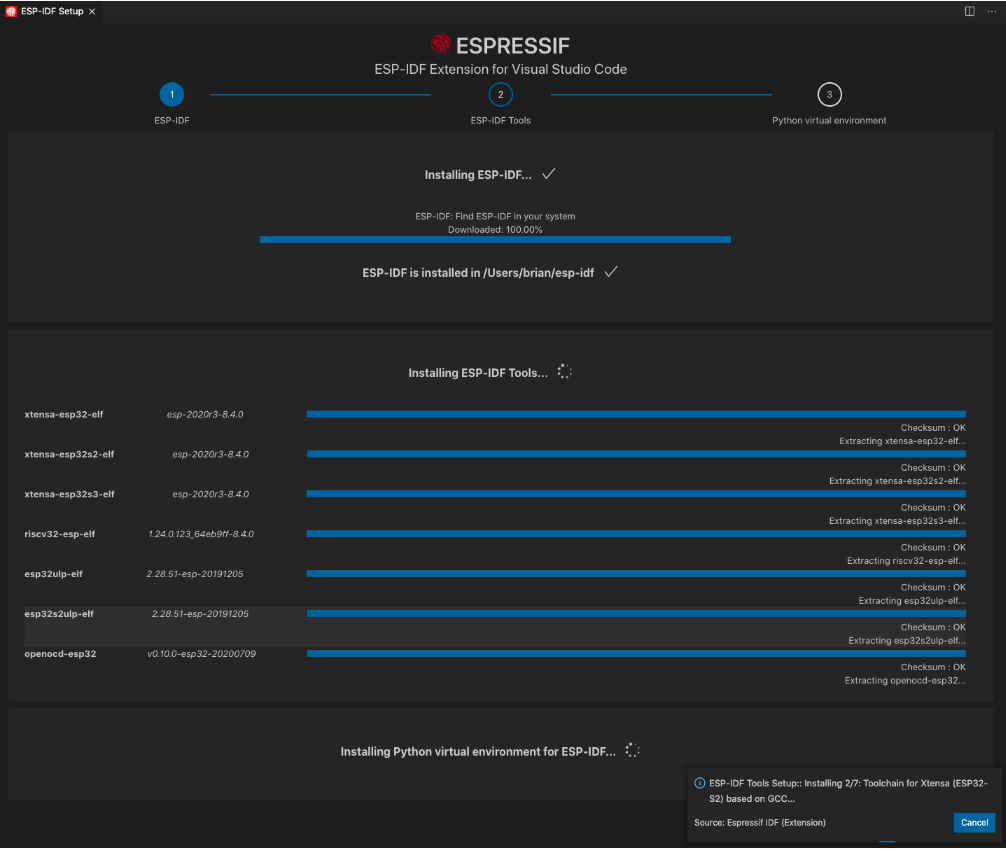
The following screen will be displayed upon successful installation:

Project Development
Get the Project Code
Clone the project repository using Git:
git clone https://github.com/camthink-ai/lowpower_camera.git
Flash the Firmware
-
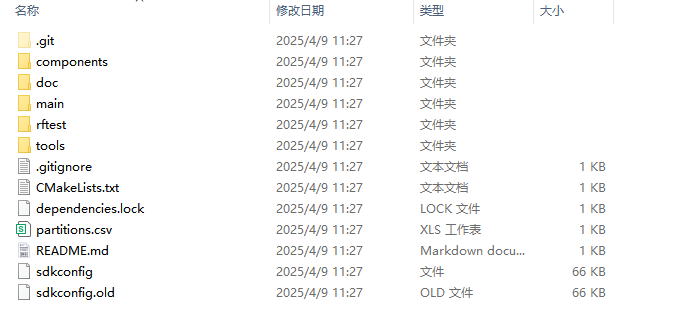
Open the Project
- In Visual Studio Code, go to File > Open Folder.
- Navigate to the folder where the project is located.

-
Project setup
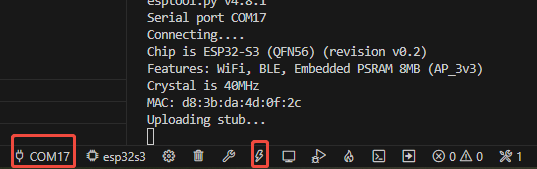
- Select the correct COM port from the bottom status bar.
- Select esp32s3 as the target chip.

-
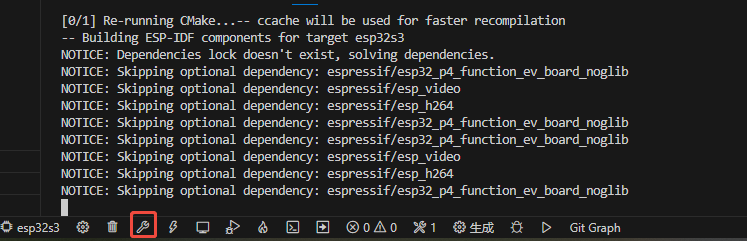
Compile and deploy the source code
- (Optional) Run the"menuconfig"command to modify project configuration.
- Select the build button to compile the source code:
- Select the flash button to upload the generated firmware to the device:
Environment Verification
After flashing is complete, the device will reboot automatically. You can use the integrated Serial Monitor in Visual Studio Code to view the startup logs and verify that the firmware is running correctly.
Important Notes:
- For first-time users, it's recommended to run an official example to verify the environment setup.
- If you experience network issues during component downloads, consider configuring a local mirror for faster access.
- During development, ensure a stable USB connection to avoid flashing interruptions.
This guide covers the essential steps for setting up the ESP32-S3 development environment. For advanced configuration options, please refer to the official Espressif documentation or contact technical support.